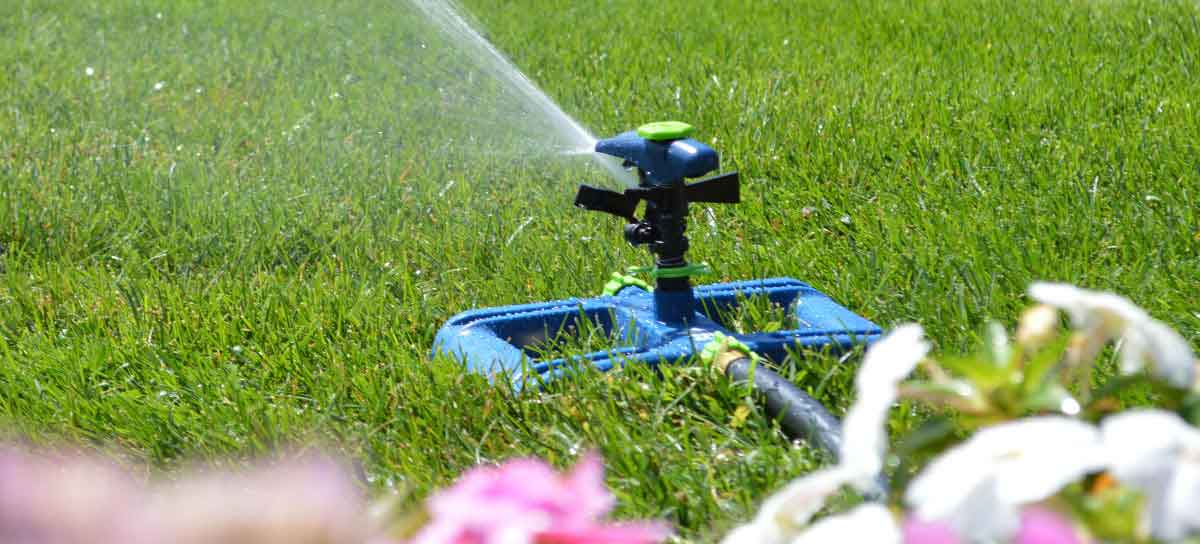
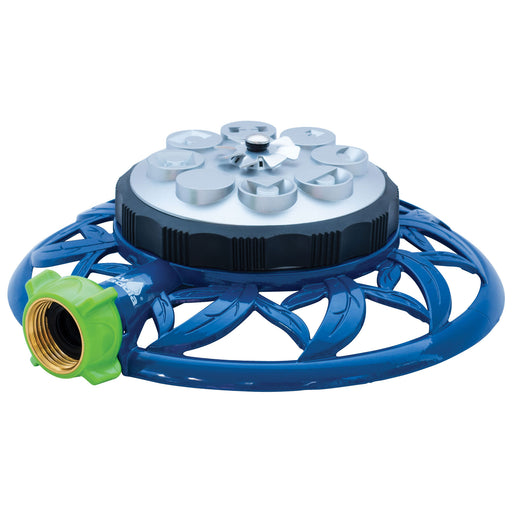
Adjusting Distance of Spray
Your plastic pulsating sprinkler can be adjusted to cover any distance of spray between 21 ft. and 45 ft. (6.4 m. and 13.7 m.). Coverage area may vary depending on the water pressure and water flow rate at your home.
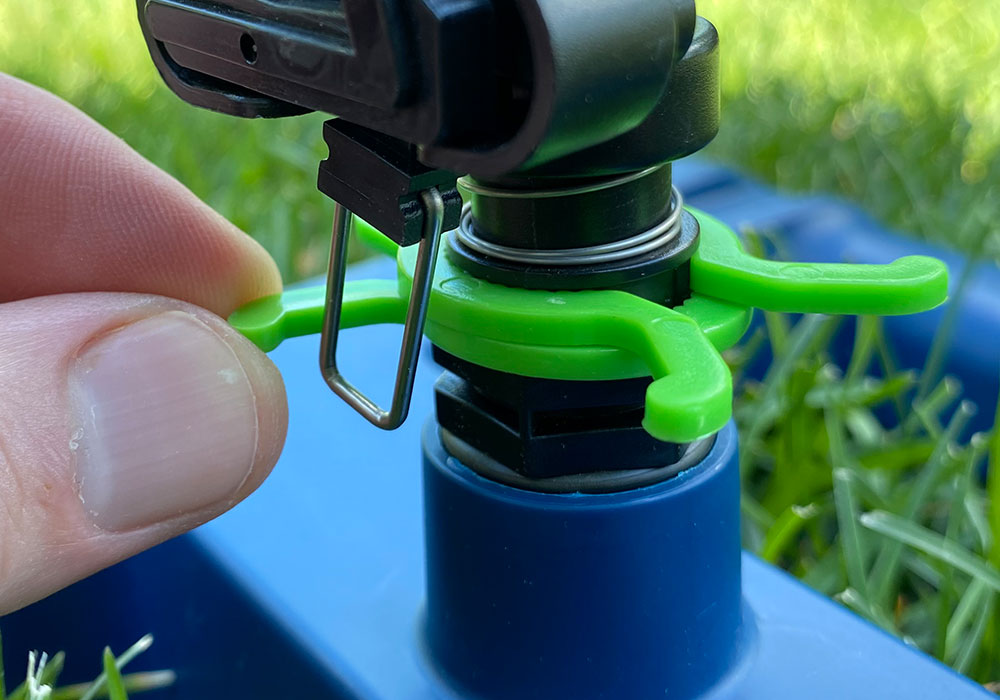
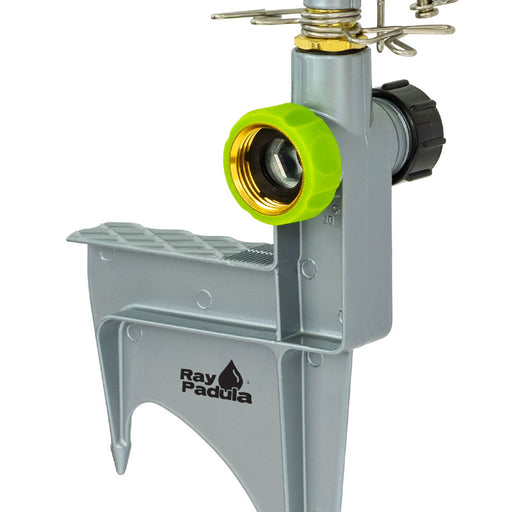
Adjusting Distance of Spray
Your plastic pulsating sprinkler can be adjusted to cover any distance of spray between 21 ft. and 45 ft. (6.4 m. and 13.7 m.). Coverage area may vary depending on the water pressure and water flow rate at your home.
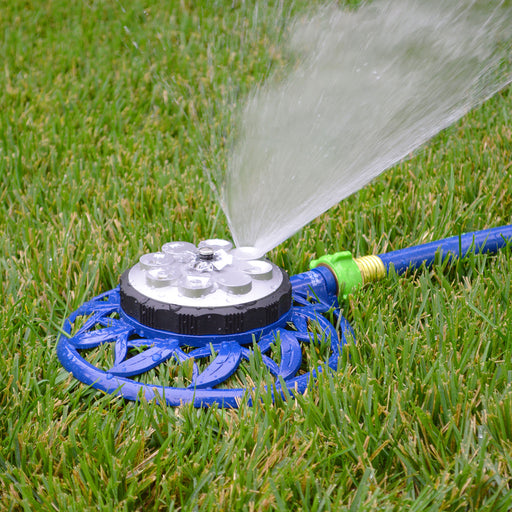
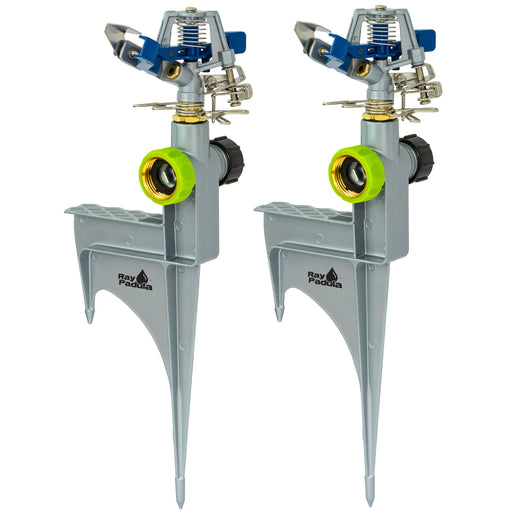
Adjusting Distance of Spray
Your plastic pulsating sprinkler can be adjusted to cover any distance of spray between 21 ft. and 45 ft. (6.4 m. and 13.7 m.). Coverage area may vary depending on the water pressure and water flow rate at your home.